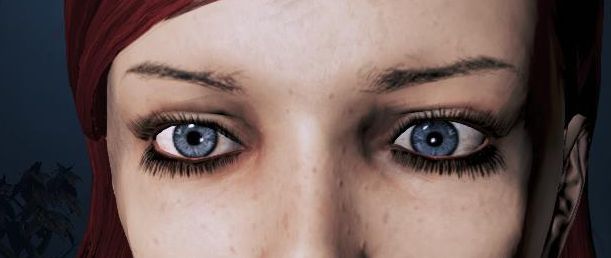
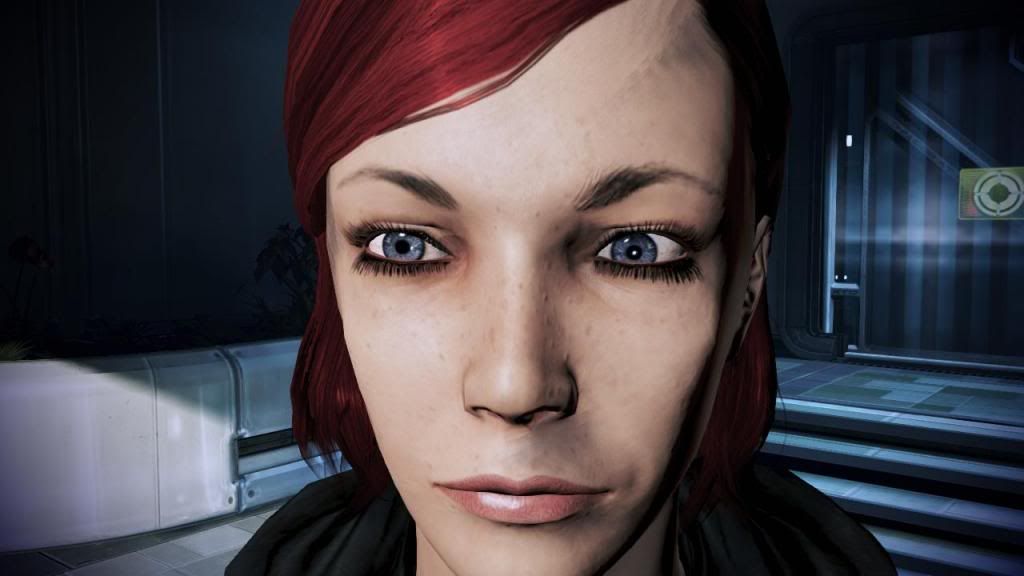
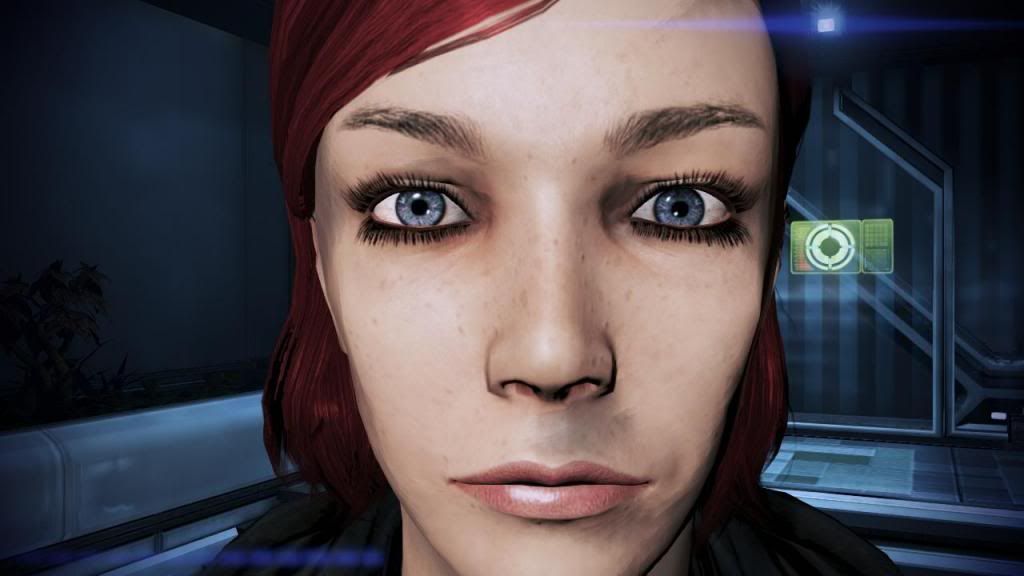
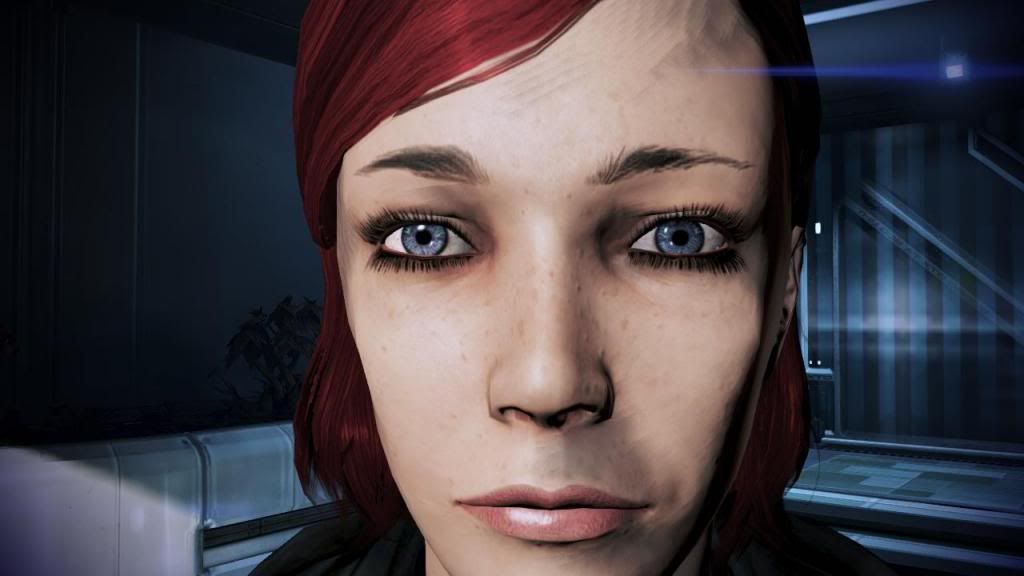
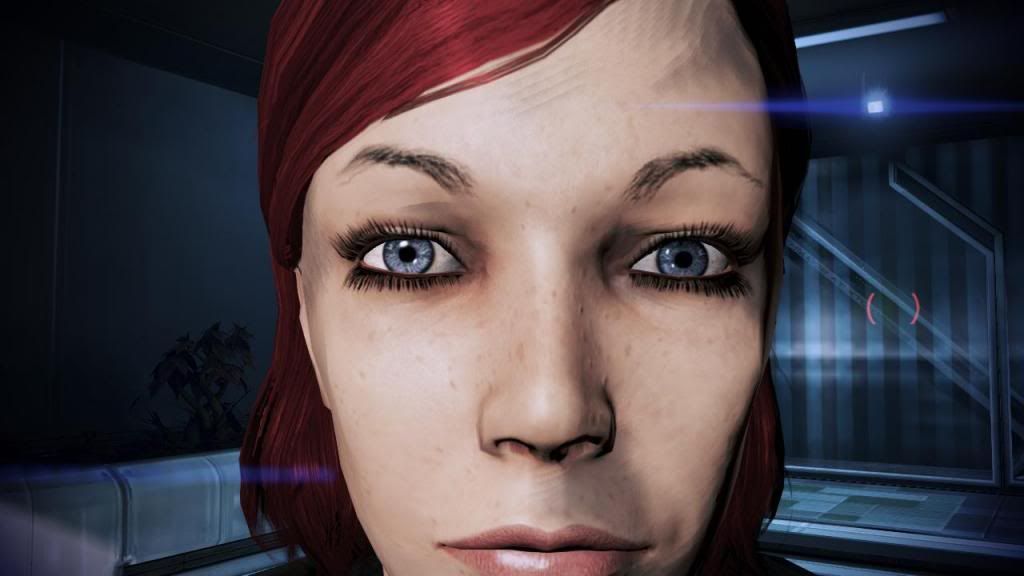
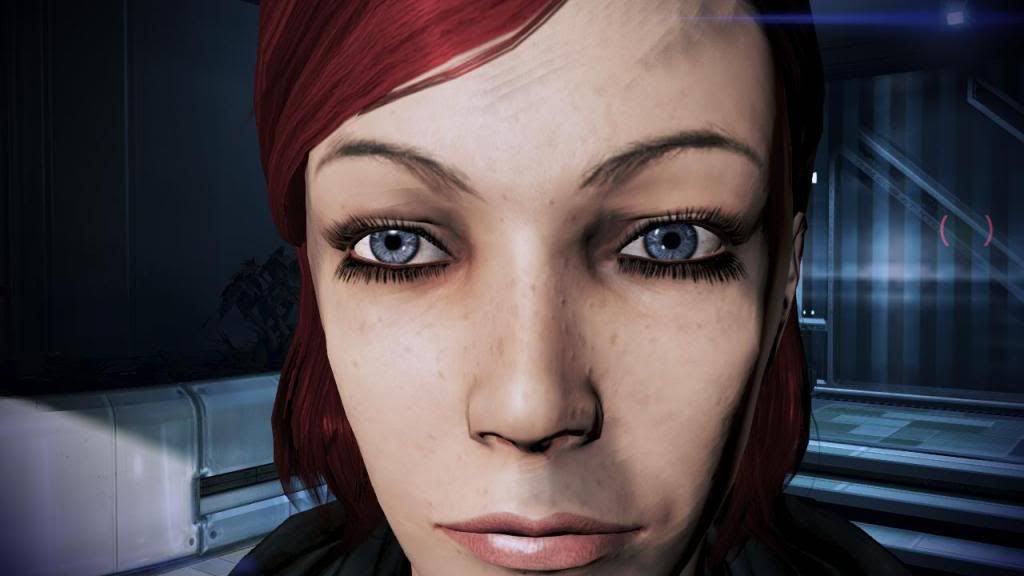
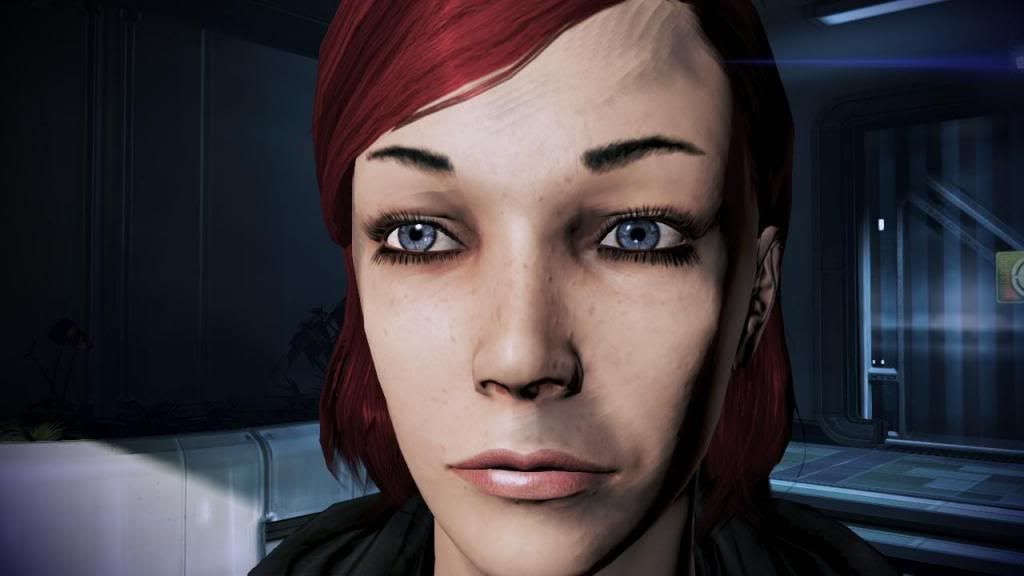
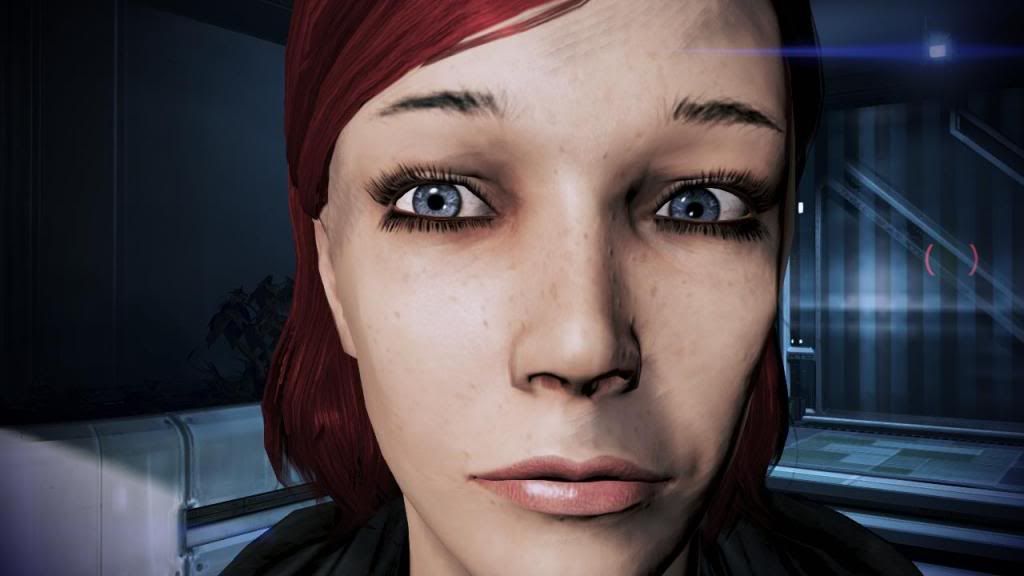
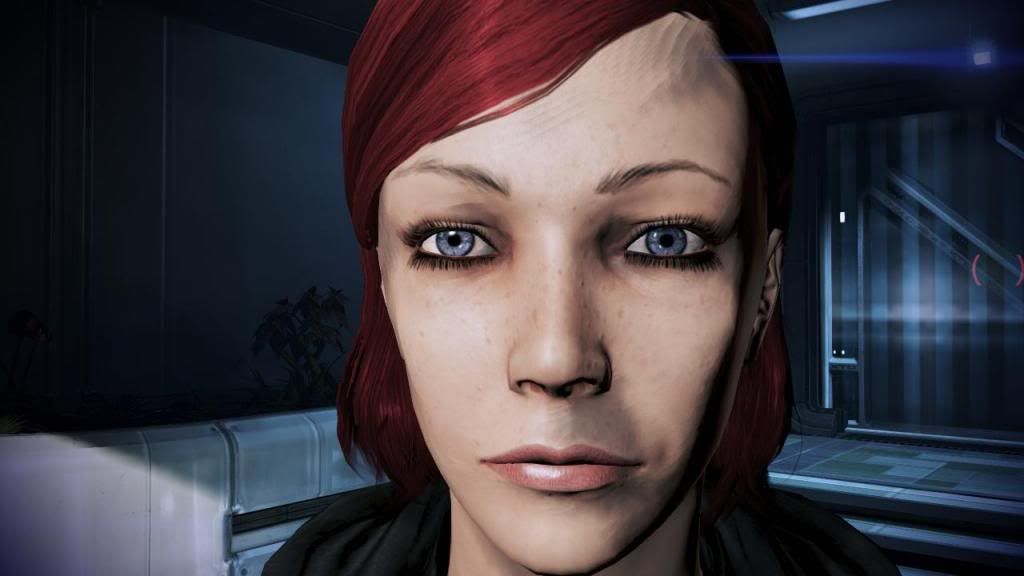
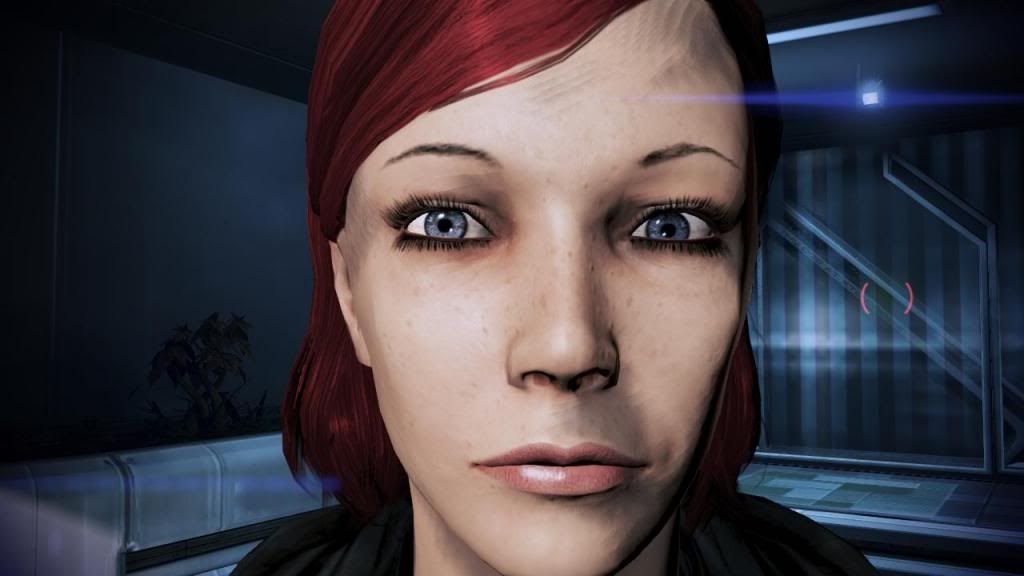
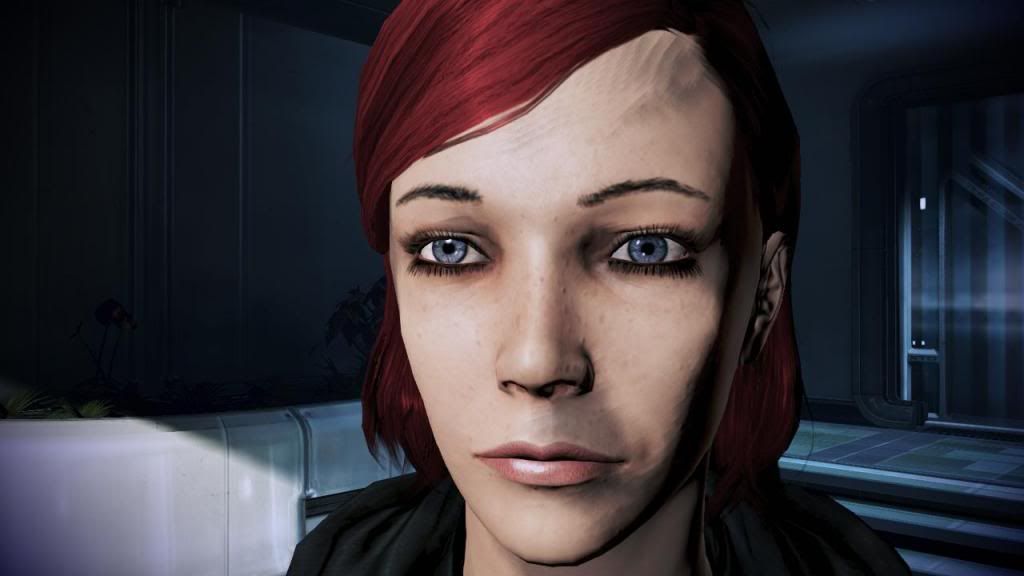
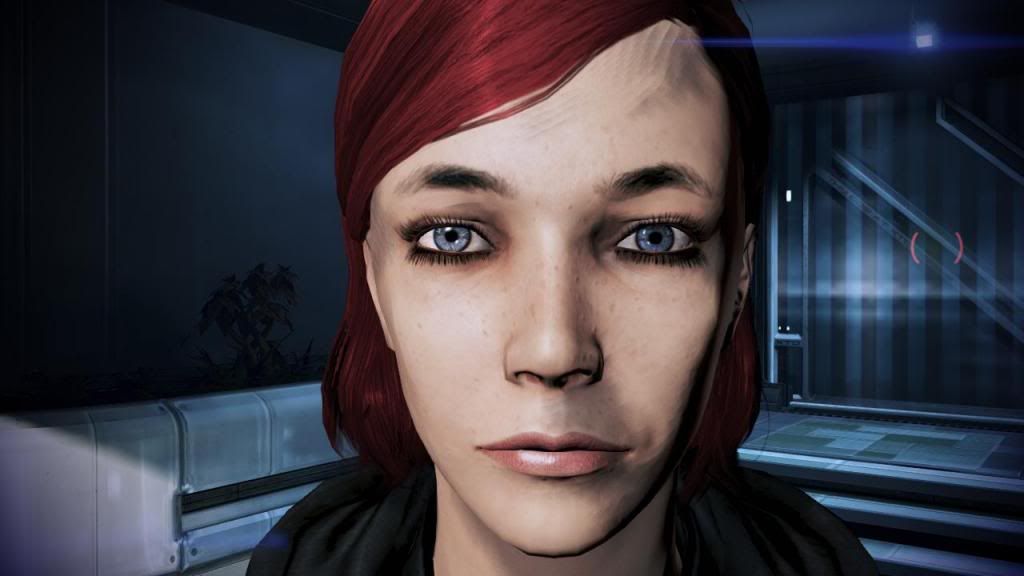
Friday 13 September 2013

Improved Examples with RGB values

Additional examples with actual RGB values for Vector & Scalar to show how colours come together.

Deep Red Brownie


Vectors:
HED_Hair_Colour_Vector = R 0.17,
GB 0
EYE_Iris_Colour_Vector = Hair_vector
HED_Addn_Colour_Vector & blonde 
R 0.05, GB 0
HED_Lips_Tint_Vector = R 0.07, GB 0
HED_EyeShadow_Tint_Vector = R 0.17, GB 0
Highlight 1&2  Color = R 0.23, GB 0

Scalars:
Highlight 1&2 SpecExp_Scalar = 250
HED_Lips_Tint_Scalar = 1
HED_EyeShadow_Tint_Scalar = 4
Hightlight 1&2 Intensity = 2

Khaki


Vectors:
Hair_C_Vector:
R 0.7372549
G 0.709803939
B 0.419607848
Same colors for highlight 1&2 vectors

Scalars:
HighlightIntensity 1 & 2 = 1
HLSpecExpScalar 1 & 2 = 50

Pink Candy


Vectors:
Hair_C_Vector:
R 1.7294118
G 0.56078434
B = G
Same colors for highlights 1 & 2

Scalars:
HighlightIntensity 1 & 2 = 1
HLSpecExpScalar 1 & 2 = 50

Pink Rose

Vectors:
Hair_C_Vector:
R 1.02941179
G 0.56078434
B = G
Highlight Vector 1&2:
R 1.72941184
G 0.56078434
B = G

Scalars:
HighlightIntensity 1&2 = 2
HLSpecExpScalar 1 = 50, 2 = 250

Midnight Blue

Vectors:
Hair_C_Vector:
R 0.09803922
G = R
B 0.427450985
Same colors for highlights 1&2 vectors

Scalars:
HighlightIntensity 1&2 = 2
HLSpecExpScalar 1 = 50, 2 = 250

Midnight BlueYellowHL

Vectors:
Hair_C_Vector:
R 0.09803922
G = R
B 0.427450985
Highlight 1&2 vectors:
R 2
G 1
B 0

Scalars:
HighlightIntensity 1&2 = 2
HLSpecExpScalar 1 = 50, 2 = 250

Olive

Vectors:
HED_Hair_Colour_Vector
R
0.498039216
G = R
B 0
Highlight 1&2  Color = Hair_vector

Scalars:
Highlight 1&2 SpecExp_Scalar = 250
HED_Lips_Tint_Scalar = 1
HED_EyeShadow_Tint_Scalar =2.5
Hightlight 1&2 Intensity = 2

Lime Door, using TIM eyes

Vectors:
SkinTone
R
0.5882353
G 0.2784314
B 0.109803922
HED_Hair_Colour_Vector
R 0.68235296
G 1
B 0.137254909
EYE_Iris_Spec_Colour = 0.2
EYE_Iris_Colour_Vector
R 0.4509804
G 0.65882355
B 0.09019608
Emis_Color = Hair_vector
HED_Addn_Colour_Vector & blonde = Eye_Iris_vector
HED_Lips_Tint_Vector = Eye_Iris_vector
HED_EyeShadow_Tint_Vector = Hair_vector

Highlight 1&2  Color = Hair_vector

Scalars:
Highlight 1&2 SpecExp_Scalar = 250
HED_Lips_Tint_Scalar = 1
HED_EyeShadow_Tint_Scalar =1.25
Hightlight 1&2 Intensity = 2
Emis_Scalar = 0.4

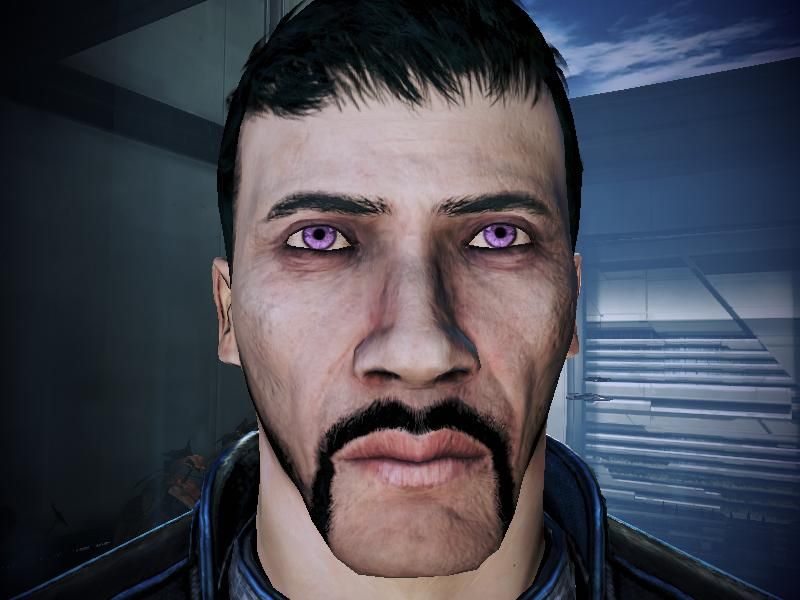
SilverPurple, using TIM eyes


Vectors:
HED_Blush_Vector
RB 0.3764706
G 0
HED_Hair_Colour_Vector = RGB 0.7490196
EYE_Iris_Colour_Vector = RB 0.03, G 0
Emis_Color = RB 0.7, G 0
HED_Addn_Colour_Vector & blonde = RB 0.03, G 0
HED_Lips_Tint_Vector = Addn_vector
HED_EyeShadow_Tint_Vector = RGB 0
Highlight 1&2  Color = Hair_vector

Scalars:
Highlight 1&2 SpecExp_Scalar = 4
HED_Lips_Tint_Scalar = 1
HED_EyeShadow_Tint_Scalar =1.25
Hightlight 1&2 Intensity = 2
Emis_Scalar = 4
HED_Blush_Scalar = 2

Lime Green

Vectors:
HED_Hair_Colour_Vector
R 0.2
G 0.8
B 0.2
Highlight 1&2  Color = Hair_vector

Scalars:
Highlight 1&2 SpecExp_Scalar = 4

White

Vectors:
HED_Hair_Colour_Vector = RGB 1
Highlight 1&2  Color = Hair_vector


Scalars:
Highlight 1&2 SpecExp_Scalar = 4


Golden Blonde, using TIM eyes

Vectors:
HED_Hair_Colour_Vector
R 0.847058833
G 0.6313726
B 0.1254902
Highlight 1&2  Color = Hair_vector
HED_Addn_Colour_Vector & blonde

R 0.4392157
G 0.31764707
B 0.0627451
HED_Lips_Tint_Vector = R 0.07, GB 0
EYE_Iris_Colour_Vector = RB 0.03, G 0
Emis_Color = RG 0.7, B 0

Scalars:
Highlight 1&2 SpecExp_Scalar = 4
HED_Addn_Spec_Lips_Scalar = 0.25
Emis_Scalar = 4

Sandy Blonde

Vectors:
HED_Hair_Colour_Vector
R 1
G 0.6392157
B 0.168627456
Highlight 1&2  Color = Hair_vector
HED_Lips_Tint_Vector = R 0.07, GB 0
EYE_Iris_Colour_Vector = RB 0.7, G 0

Scalars:
Highlight 1&2 SpecExp_Scalar = 4
Hightlight 1&2 Intensity = 2
HED_Addn_Spec_Lips_Scalar = 0

Grey

Vectors:
HED_Hair_Colour_Vector = RGB 0.3882353
Eye_Iris_vector = Hair_vector


DarkRed Blue HL

Vectors:
HED_Hair_Vector
R 0.3764706
G 0.109803922
B = G
Highlight 1&2 Color vector = B 0.5372549, RG 0

Scalars:
Highlight 1&2 SpecExp_Scalar = 250
Hightlight 1&2 Intensity = 7

Brunette

Vectors:
HED_Hair_Colour_Vector
R 0.356862754
G 0.20784314
B 0.129411772
Highlight1Color
R 0.239215687
G 0.137254909
B 0.08627451
Highlight2Color = RGB 0

Scalars:
Highlight1SpecExp_Scalar = 350
Highlight2SpecExp_Scalar = 0
Hightlight1Intensity = 2.4
Hightlight2Intensity = 0

Lightblue Crewcut & Mohawk


Vectors:
HED_Hair_Colour_Vector
R 0.6862745
G 0.7921569
B 1
Highlight 1&2 Color = RGB 0


Extreme Red Glow

Vectors:
HED_Hair_Colour_Vector
R 10
GB = 0


Black Custom

Vectors:
HED_Hair_Colour_Vector = RGB 0.12
HED_Addn_Colour_Vector & blonde = RGB 0
HED_Lips_Tint_Vector = RGB 0
EYE_Iris_Colour_Vector = RGB 0.05
HED_EyeShadow_Tint_Vector = RGB 0


Scalars:
HED_EyeShadow_Tint_Scalar = 5


Black Red HL

Same as Black Custom with added
Highlight1Color = R 1, GB 0


Black Blue HL

Same as Black Custom with added
Highlight1Color = B 3, RG 0


Black Grey HL

Same as Black Custom with added
Vectors:
Highlight1Color = RGB 0.38


Scalars:
Highlight1SpecExp_Scalar = 250
Hightlight1Intensity = 12


PurpleFreak

Vectors:
SkinTone
R 0.768627465
G 0.3019608
B 0.145098045
HED_Hair_Colour_Vector = RB 0.2, G 0
HED_Lips_Tint_Vector = RGB 0.06
HED_EyeShadow_Tint_Vector = RGB 0
Highlight1Color = Hair_vector
Highlight2Color = RGB 0
EYE_Iris_Colour_Vector = R 4, G 1, B 0
EYE_White_Colour_Vector = RGB 0

Scalars:
Highlight 1&2 SpecExp_Scalar = 500
HED_Lips_Tint_Scalar = 1
HED_EyeShadow_Tint_Scalar = 0.45
Hightlight1Intensity = 6
Hightlight2Intensity = 0

Omni Orange

Vectors:
HED_Blush_Vector B 0.3764706, RG 0
HED_Hair_Colour_Vector = R 1, G 0.466669, B 0
HED_Lips_Tint_Vector = RGB 0.06
HED_EyeShadow_Tint_Vector = B 0.2, RG 0
Highlight 1&2 Color = RGB 0
EYE_Iris_Colour_Vector = R 4, G 1, B 0
EYE_White_Colour_Vector = RGB 0.5

Scalars:
HED_Blush_Scalar = 1.75
Highlight1SpecExp_Scalar = 5
Highlight2SpecExp_Scalar = 500
HED_Lips_Tint_Scalar = 1
HED_EyeShadow_Tint_Scalar = 4.3
Hightlight 1&2 Intensity = 2

Thursday 29 August 2013

Level cap modding - Mass Effect 3

Tutorial showing how you can modify ME 3 levelcap to whatever you want.


We are going to modify the Coalesced.bin file and you should be aware of a few points:
1. Modding this file might get you banned from MP, so make sure to restore the original before you even start ME3 (for multiplayer purposes).
2. Singleplayer modding should be fine, but better safe than sorry.
3. Make a copy of the original file, and put it in a galaxy far away so you don't accidentally modify it.

We are going to need a tool to help us achieve our goal:

Grab a copy of Wenchy's Mass Effect 3 Coalesced Utility
http://wenchy.net/me3-coalesced-utility/

To use this utility you need to have
Microsoft .Net Framework 4 (Client Profile) installed.
This is the same FW required by Gibbed's ME3 save editor, if you've been save editing before then you probably already have this.
http://www.microsoft.com/download/en/details.aspx?displaylang=en&id=24872


Startup Wenchy's utility, and we can begin.

1. File -> Open  -> YourInstallationLocation\Mass Effect 3\BIOGame\CookedPCConsole\Coalesced.bin
-Lots of game stuff in here but we really only need a few things.

2. Edit -> Find ->  Search for: maxplayerlevel
The location should look something like this:
biodifficulty.ini -> sfxgame -> sfxdifficultyhandler -> maxplayerlevel = 60
-This is the levelcap, obviously.
-My modded levelcap is set to 90 in the picture below.


-Click on it and change the value in the right handed part of the window to whatever level you want.
-Example: maxplayerlevel = 61
-WARNING: There is another variable with this exact name, which is set to maxplayerlevel = 20
it is located in sfxdifficultyhandlermp.....MP clearly stands for multiplayer, so DO NOT touch this one at all.
-Make sure there is only one empty line beneath the line where the value (61) is stored on the righthanded side. Should be the one with an * at the left column. ME3 doesn't like lots of empty lines, and can make the game crash. They can be removed with rightclicking along the left column.

3. Search again and look for a variable called: levelrewards
Manually browsing it is located at:
biogame.ini -> sfxgame -> sfxgameconfig -> levelrewards = (multiple)


This contains a long list of all the levels in the game. The words in the list should be pretty obvious, but I will explain them anyway:
Level = The actual number of the level.
ExperienceRequired =  XP needed to get to this level.
TalentReward = Amount of talentpoints given to Shepard on level up
HenchmanTalentReward = Amount of talentpoints given to squadmates on level up.
-All of these can be modified to suit your need.
-And adding more levels is simple:
-Copy one of the lines and put it below the last one, and modify the values to whatever you like.
-Example:
(Level=61,ExperienceRequired=122000,TalentReward=1,HenchmanTalentReward=1)
Keep on adding more to the list if your level cap is set higher.
-Like before, make sure there's just one empty line beneath the final. Should always be the one containing the *.

4. One final thing we need to do. Directly below levelrewards = (multiple) is a variable called:
maxplayerexperience = 121400 (mine in the picture is set to 4612725)
-The max xp you can ever get.
-This should be the same amount as you put in ExperienceRequired in the levelrewards list final item. This corresponds to the levelcap.
In the example I used it is 122000 so I will change it like this: maxplayerexperience = 122000
-If you set this higher than the final ExperienceRequired, you will still get exp even after reaching the level cap, but without any actual levels beyond the cap it won't do anything.

4.1 Doublecheck your changes. Make sure the spelling in levelrewards is correct, and everything is listed in the right order.

5. That should be all we need to do. Save your changes: File -> Save
6. Start ME 3 and ONLY play single player. REMEMBER to restore the original Coalesced.bin if you ever want to do multiplayer.

7. A short vid showing the levelcap in action ingame:

Thursday 18 July 2013

Adding PlotIDs to Gibbed's ME 3 save editor

Doing another playthrough of Mass Effect trilogy?
Now you're playing through ME 3, but forgot that one thing you always liked doing!

There are many things in ME that will be slightly different depending on what Shepard has done / heard / seen.

Example:

Heard Mordin singing in ME 2 before going through the Omega 4 Relay:
-> Mordin will sing again in ME 3 atop the Shroud on Tuchanka.

Didn't not hear the song in ME 2:
-> Mordin will instead say: "Genophage cured. Krogan free. A new beginning... for all of us."

Fear not. Gibbed's ME 3 save editor to the rescue.

All of these can be applied manually under plot -> manual, but it gets fairly tedious to do so every time you're doing a new playthrough.

I will show you how to add these plotid's so that you get a list of checkboxes inside Gibbed's.

1. Locate wherever you have Gibbed stored on your system, mine's here:


2. Go into the plots folder and you should find these files:


The 3 files highlighted above are the ones we want. You could add your plotid's into one of them, but I like to keep mine inline with which ever game they occur in.

In this example I will focus on ME 2:
Mass Effect 2.me3plot

3. Open the above file in a text editor of your choice. Notepad++ is what I would recommend. Any program that lets you store this file as plaintext will do.

4. Scroll down to the area I've highlighted in yellow below:


These are Gibbed's options for Fish that you can aquire in ME 2. We are going to take this and add a new section below called FIXES. You can name it whatever you want, I just use this so it's properly visible.

5. Copy mine below if you like, or add your own:


Always make sure that all the braces, colons, decimals are in their correct locations and that the braces all line up.

"name" - the top one -  will name the tab you'll see in Gibbed's editor, and in this example it will be next to Fish.
"multiline_bools" - If set to true Gibbed will break your text after a couple of words, ie no multiple lines text. I like longer explanations for each option therefore I keep this false.
"bools" - This contains a list of all the plotid's that you want to show up as checkboxes in Gibbed.
"id" - The number used to identify a specific boolean option by the game.
"name" - Adds a line of text to Gibbed next to the id-checkbox that you can use for explaining what each id actually does. Remembering only numbers is kinda tricky for most people :)

To add a plotid to the list just copy one already listed and make sure that all the braces and dots are all in the right place. Then change the id number to whichever you want and give it a nice simple description.

This is how it all will end up looking in Gibbed's editor after you restart it:


6. Select whichever options you want, usually this has to be done before starting a mission where this character / event occurs in ME 3. Otherwise the game will use the default choice.

6a. If you just started a new playthrough of ME 3, and you're standing on Earth after the intro. You should have a savefile called "Chapter" which you can load and edit normally. Then reload it and the intro should play with your changes. I know some people who played the game and Admiral Anderson didn't "remember" that Shepard did the Arrival dlc, using Gibbed's editor should fix this issue for you.

7. Save and reload.

8. Google search and the ME 3 forums are your best place to find more plotid's.

9. Enjoy your new and improved gameplay :)

Eyebrow styles

How to change the eyebrow type for both female and male Shepard.

The eyebrows are located in the Raw tab of Gibbed's save editor here:


Follow the numbers and you'll get the Textures parameter list that looks like:


The parameter we're going to change is called HED_Brow.
Clicking on it will get us a list on the right side containing the parameters name and the value that goes into it. The value is the name of the texture for the eyebrow.

Copy and replace whichever eyebrow from below that you'd like to use into the Value.


All default eyebrows available for female and male Shepard:

Note: You can't use female styles on male and vice versa. The game will hang on the loading screen, or simply just crash while loading.

Female

No brow
BIOG_HMF_HED_PROMorph_R.Base.HMF_HED_PROCustom_Blank_Norm

Angular
BIOG_HMF_HED_PROMorph_R.Brow.HMF_HED_PROCustom_AngularBrow


Arched High
BIOG_HMF_HED_PROMorph_R.Brow.HMF_HED_PROCustom_ArchedHighBrow


Assym
BIOG_HMF_HED_PROMorph_R.Brow.HMF_HED_PROCustom_AssymBrow


Flat Diamond
BIOG_HMF_HED_PROMorph_R.Brow.HMF_HED_PROCustom_FlatDiamondBrow


Groomed
BIOG_HMF_HED_PROMorph_R.Brow.HMF_HED_PROCustom_GroomedBrow


Pluck Arch
BIOG_HMF_HED_PROMorph_R.Brow.HMF_HED_PROCustom_PluckArchBrow


Short Arch
BIOG_HMF_HED_PROMorph_R.Brow.HMF_HED_PROCustom_ShortArchBrow


Soft Arched
BIOG_HMF_HED_PROMorph_R.Brow.HMF_HED_PROCustom_SoftArchedBrow


Square
BIOG_HMF_HED_PROMorph_R.Brow.HMF_HED_PROCustom_SquareBrow


Thick Bushy
BIOG_HMF_HED_PROMorph_R.Brow.HMF_HED_PROCustom_ThickBushyBrow


Thick Wispy
BIOG_HMF_HED_PROMorph_R.Brow.HMF_HED_PROCustom_ThickWispyBrow


Thin Arched
BIOG_HMF_HED_PROMorph_R.Brow.HMF_HED_PROCustom_ThinArchedBrow


Thin
BIOG_HMF_HED_PROMorph_R.Brow.HMF_HED_PROCustom_ThinBrow


Thinner
BIOG_HMF_HED_PROMorph_R.Brow.HMF_HED_PROCustom_ThinnerBrow


Wispy
BIOG_HMF_HED_PROMorph_R.Brow.HMF_HED_PROCustom_WispyBrow


Male

No brow
BIOG_HMM_HED_PROMorph.Base.HMM_HED_PROCustom_Blank_Norm

Arched
BIOG_HMM_HED_PROMorph.Brow.HMM_HED_PROCustom_ArchedBrow


Bushy
BIOG_HMM_HED_PROMorph.Brow.HMM_HED_PROCustom_Bushybrow


Fat
BIOG_HMM_HED_PROMorph.Brow.HMM_HED_PROCustom_FatBrow


Fuzzy
BIOG_HMM_HED_PROMorph.Brow.HMM_HED_PROCustom_FuzzyBrow


Thick
BIOG_HMM_HED_PROMorph.Brow.HMM_HED_PROCustom_ThickBrow


Uni
BIOG_HMM_HED_PROMorph.Brow.HMM_HED_PROCustom_UniBrow